Project Tote and Sweater Progress

Knitting Tote Outside

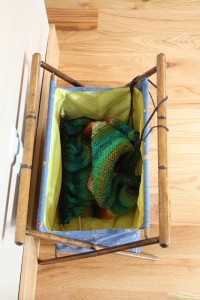
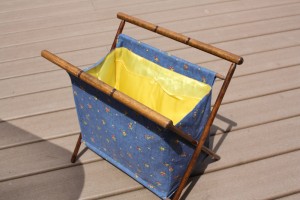
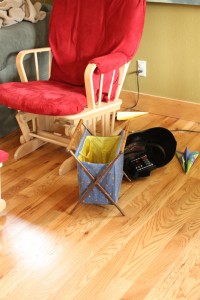
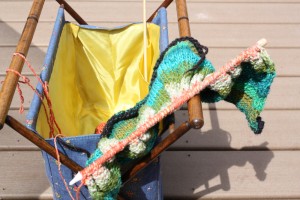
I really scored this weekend at a yard sale. I nabbed up a cute little knitting tote or project tote. I don’t know what they are officially called I just know that all of the inspirational knitters in my life have them and mine was $1.00!

Project Holder Knitting Tote Tote

It came at the perfect time since I’ve been spending a lot of time knitting out in the sunshine.

Sweater Start

I like to sit on our back deck and soak up some Vitamin D while I work on Shane’s sweater, watch my kids and chickens play, and watch my garden grow. The problem I was running into was that my ball of yarn seemed to fall off the table and somehow target a pile of chicken poo, which doesn’t tend to have a very good outcome. This is no longer a problem! I can keep my ball of yarn in the knitting tote, poo free!

Starting Noro

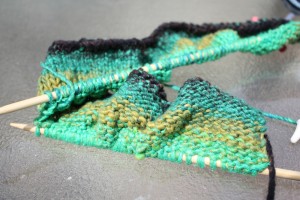
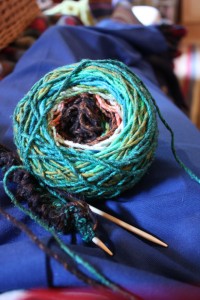
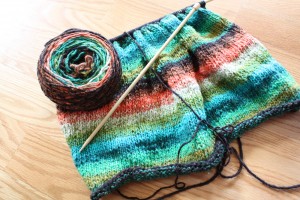
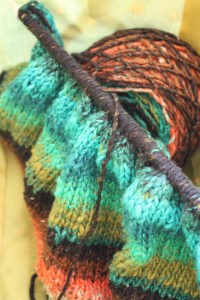
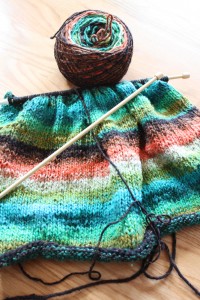
I’ve made some progress on the sweater I’m working on. I’m using chunky Noro Yarn – that I’m completely in love with. It is great to work with and self-striping and the colors are great! I started off using size 6 needles at the bottom. The first piece I’m working on is the back. I think I cast on 99 stitches and I used size 6 needles for 6 rows of 99 sts in stocking stitch or stockinette stitch (which is just knitting one row and purling back on the other side). After those six rows the pattern tells me to switch to size 10 needles and work 16 + inches. I thought I loved the look of this pattern on Ravelry when I was admiring a photo of someone’s completed project, but once I visited the pattern on Yarn Forward I wasn’t as impressed. I decided today that a stripey colorful version will look much different. I can always fall back on myself as the owner of the sweater if all else fails.

Sweater Progress Noro In Tote Stripey Noro

One thing that I have thought of, is since this pattern is having me do the front independently from the back the stripes most likely won’t match up, but I don’t think I care and who knows, maybe I’ll get lucky. The cable stitching near on the armholes will also prove to be very tricky, as I have no idea how to work with cable needles. I will learn I suppose! And I realize that might be a matching nightmare also – again I don’t think I care. I just wanted this first sweater to be a fun, toasty, colorful sweater and I’m prepared for the imperfection that comes with it. I think the Noro yarn will make up for it.

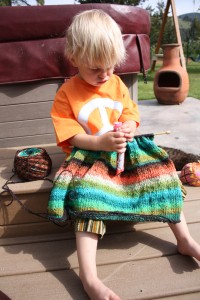
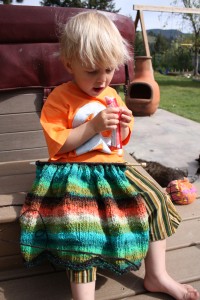
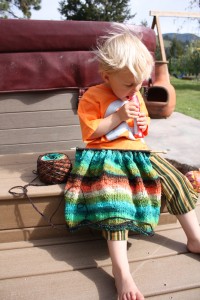
Pouty Model Yogurt Pop Yummy Sweater

My little model wasn’t thrilled with me, he was just trying to enjoy his frozen yogurt pop.

More to come soon on the sweater, just knitting my “spare” time away.

Happy Knitting!
Swift and Ball Winder

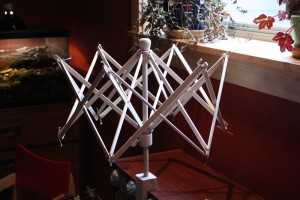
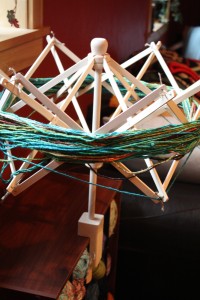
New Swift

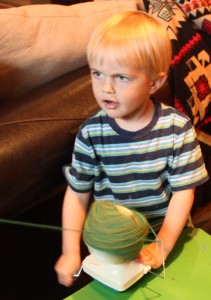
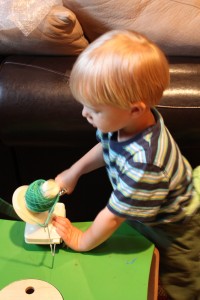
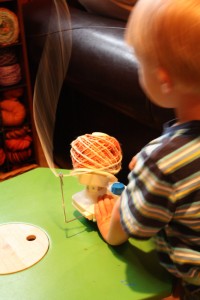
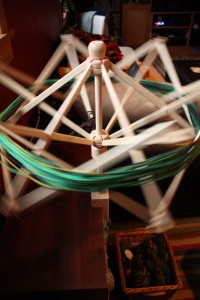
I decided to take the plunge. I don’t mind visiting my favorite local knitting shops to convert my hanks to something more easy to work with. But, since I order yarn online quite frequently I decided I wanted to have the means to make my very own yarn cakes whenever I darn well please! Don’t get me wrong I adore the winder that I used to take complete advantage of, but this made a lot more sense to me. So I got myself a pretty pine swift and got myself a ball winder to go along with it. My kids are having more fun with it than me. The swift attached nicely to my yarn cubby and we just put the ball winder on the little table from our store.

Watch Out Yarn Making Cake Action Winder

It is very easy to move around so it doesn’t get in the way, it is easy to store the swift and winder away whenever we want to, but oh so nice to be able to take them out whenever the need arises. This little guy takes his yarn cakes very seriously!

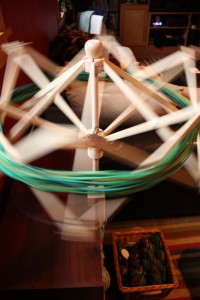
Spinning Swift with Yarn Speedy Swift

In case some of you might not know what the heck this all means you untie a hank of yarn and open it up around a swift (they come in an array of different sizes and styles). You find the ends and pull one of them over to a ball winder (or just use your fingers).

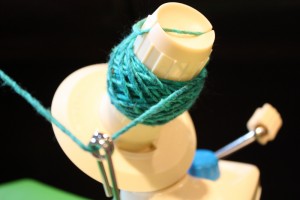
Ball Winder

You just turn the crank on the ball winder and the swift spins about while the yarn winds up really nicely. I like to make pretty little cakes and that is precisely what this ball winder will make for you.

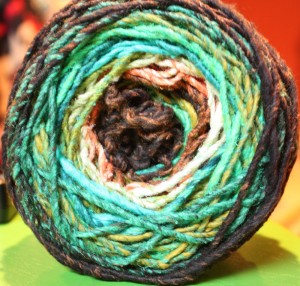
Yarn Cake

Mmm that is a delicious looking cake! I’m going to use this cake to start my sweater! It is in the very very beginning stages…pretty exciting! Wish me luck.

Happy Knitting!
Birthday Hat with Pom Pom

Knitting Progress

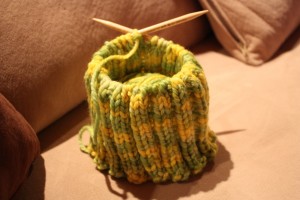
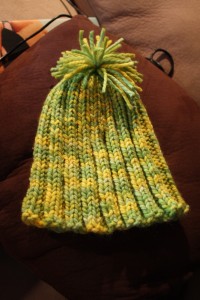
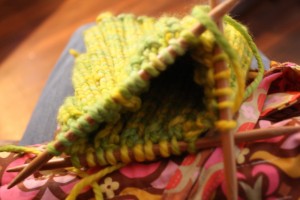
Birthday Hat takes on two meanings for me today. I made this hat for a friend for her birthday because as I mentioned before – why mess with success, when you are good at something you might as well make that useful thing for everyone that needs it right? Plus they are fun to make, so I made yes another ribbed hat. The second meaning is that I finished this hat while I was fortunate enough to be a doula at a sweet birth…so it is extra special to me. This was while the Mama was laboring for a bit in another room, I snapped my progress on my lap in the rocking chair in the dark room, in the wee hours of the morn.

Birth Knitting

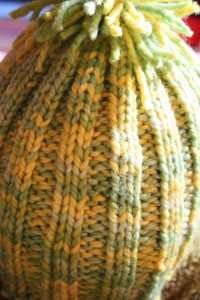
It doesn’t take me long to whip out a ribbed hat these days. One night and I can get one done from start to finish. This particular hat I cast on 68 stitches and k2 p2 the entire way to the decrease at the top. I used size 10.5 circular needles and I really just like the way these fit, they are snug and warm, so I’ll keep making them. In fact I’m thinking about starting to sell them on Etsy just because I like to make them so much. That’s when I ask myself, “Self, do I have time for an Etsy shop?” And the answer is as long as no one likes your hats you do!

Close Rib Peek Hat Green/Yellow Hat

I used Sheep Number Two yarn from the Sheep Shop Yarn Company. I love knitting with this yarn it is so soft and colorful! I used color number G026. I got it in hanks and just used my new tools (they’ll be featured in one of the next blog entries) to turn it into a big yarn cake. Both times I’ve made hats with this I didn’t even use a whole hank. The last hat was Lexie’s birthday hat. It is made in Uruguay and 100% pure wool!

Now for the Pom Pom! I haven’t ever made one before but I’m not sure why, it is incredibly easy!

Cardboard Wind Yarn Finger

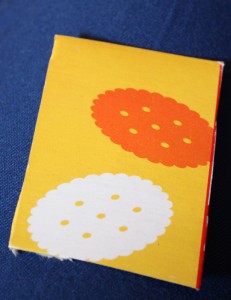
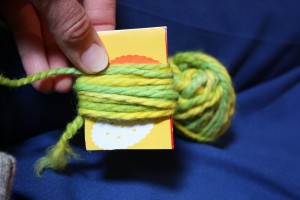
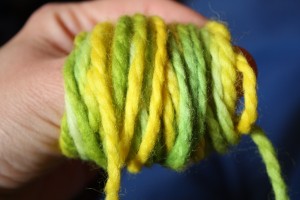
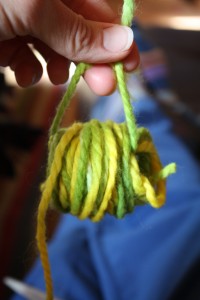
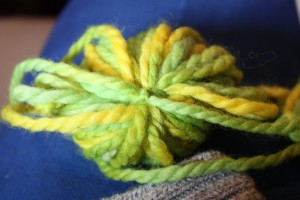
So the first three steps pictured above: 1.Find a piece of flexible cardboard. 2. Wrap yarn around the cardboard (approx 50 times). 3. Remove the wound yarn from the cardboard. I just slid my finger in place of the cardboard – but you want to keep that wound yarn nice and neat for the next step.

Yarn Through Bundle Tied Bundle

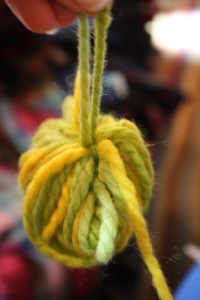
Next step is just to tie a about a 12 inch piece of yarn twice around your bundle (through the middle).

Cutting

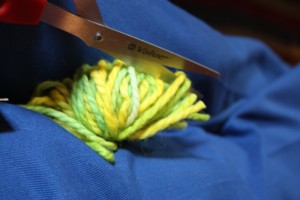
Finally you just cut the bundle (opposite side of where you tied it together). Then you’ve got yourself a pom pom. I just attached it after I cut it.

TaDa!

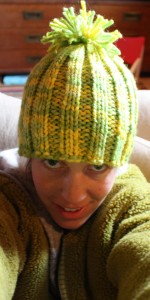
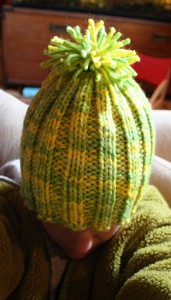
Finished Hat

What do you guys think? Etsy shop or no?